ESP32 & ESP8266 Connectivity · Intermediate · Config portal
ESP32 Captive Portal Wi-Fi Manager
Boot the ESP32 with no credentials and configure its network from a phone, with the portal saved to flash.
Firmware status: Generated from this project's own pin map and compiled with arduino-cli for esp32:esp32:esp32 before publication; bench validation on your hardware is still required.
Board: ESP32 DevKit (ESP32-WROOM-32, 30 or 38 pin) · ESP32 dual core @ 240 MHz · 3.3 V logic · build for esp32:esp32:esp32.
What you will build
A board that comes up as its own access point on first boot, takes network credentials through a web form, stores them in flash, and reconnects by itself afterwards.
Components
- ESP32 development board (ESP32-WROOM-32)
- USB data cable
- Push button for the reset-to-portal action
- Status LED and a 220 Ω resistor
Pin map for this build
| Sketch constant | Pin | What it is |
|---|---|---|
PIN_STATUS_LED | 4 | Status LED — with 220 Ω series resistor |
PIN_BUTTON | 5 | Push button — to GND, internal pull-up |
Tools
- USB programming cable
- Multimeter
- Current-limited bench supply (for anything that switches a load)
- Small screwdriver and wire cutters
Build sequence
- Flash the sketch. Because WIFI_SSID is empty, the board starts its own access point named for the project.
- Join the access point from a phone. The captive-portal prompt opens the setup page by itself.
- Enter the network name and password, and submit. The board reboots into station mode and prints its address.
- Confirm the address in a browser: the status page reports signal strength and uptime.
- Hold the button for five seconds to wipe the saved network, and watch the portal come back.
Test and expected result
The setup page loads on the first join, the board connects after submitting, and the status page survives a power cycle without re-entering credentials.
Acceptance checks
portal opens on first join, credentials stored, reconnects after power cycle, button wipes the saved network
Safety and limits
The board is powered from USB at 5 V; the GPIO are 3.3 V. Joining a network gives the board the network's reach — treat it as a device on your LAN.
Hardware scope
ESP32 in access-point and station mode, DNS catch-all for the portal prompt, NVS for credential storage.
Connection diagram
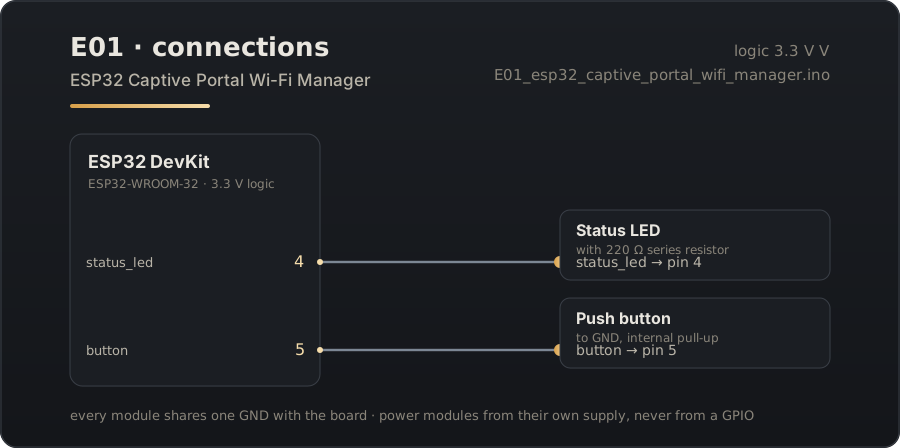
Download the connection diagram (SVG)
Download the Arduino sketch (E01_esp32_captive_portal_wifi_manager.ino)
Guide source: the sketch on this page was generated from the pin map above and compiled for esp32:esp32:esp32 before publication.
Related projects
- ESP8266 Config Portal — The same idea on the cheapest board that can do it: an ESP8266 that configures itself from a browser.
- ESP8266 Sensor Portal Logger — A battery-minded sensor node you configure in the field, with the reading shown on its own setup page.
- ESP32 Web Relay Controller — Two relays and a page that switches them, served by the board itself with no cloud in the middle.